
Step 1: Download & Install
Quick start is three steps: install → connect your first device → learn three things. This page is step one.
Download
Installers live at the top of Release History. Pick the build for your computer:
Identifying your Mac chip
Apple menu → About This Mac. If the Chip line starts with Apple M, take the Apple build; if it says Intel, take the Intel build.
On Linux, make the AppImage executable first · use the file name you actually downloaded:
chmod +x VMOS-Cast-*.AppImage
./VMOS-Cast-*.AppImage
Two system prompts you may see
Windows: "Windows protected your PC"
Microsoft SmartScreen shows this for newly released software. Click "More info" → "Run anyway."
macOS: "Cannot be opened because the developer cannot be verified"
The installers are signed and notarized, so this normally will not appear. If it does: System Settings → Privacy & Security, click "Open Anyway" near the bottom.
First launch
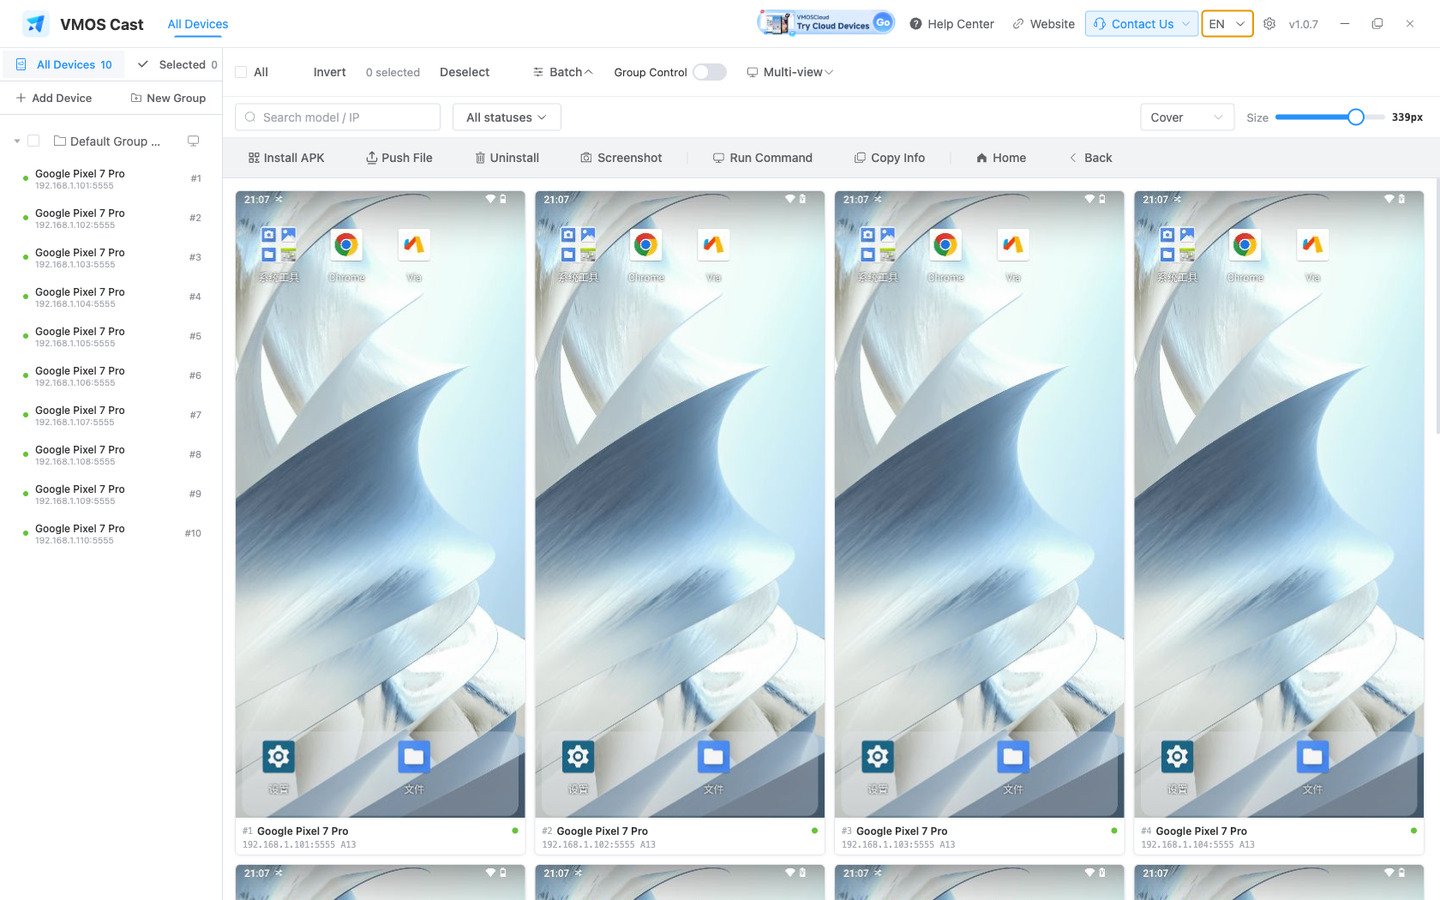
You land on an empty device wall:
- Top bar: help center, website, support, language, settings
- Sidebar: all devices, selected devices, Add Device, new group, the group and device list
- Card area: every connected device shows up here
"Device connection and mirroring unavailable" on launch
The installation did not complete and some program files are missing from the install folder. Open "How to fix" in the prompt and reinstall — your devices and settings are kept.